It’s September 2020 and our kitchen refresh is finished – we could not be happier with how it turned out! My prayer for our house has been for our kitchen to be a place of warmth, happiness, and hosting, and I think it will be able to do just that and more with the updates. This kitchen refresh started back in April 2020, when our oven broke, yes – our oven broke in the middle of the quarantine, and we learned that the repair would cost almost as much as buying a new oven. After a few weeks of thinking about our options, we decided to purchase a new oven, which quickly snowballed into bringing the rest of the kitchen into this century. This kitchen refresh was a labor of love, with a few bumps and lessons, but it was worth it all.
House history
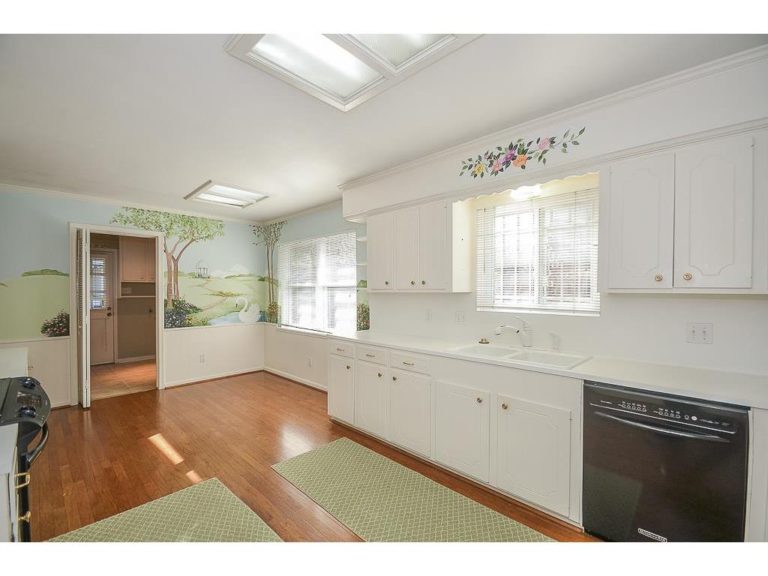
We purchased our house in Spring 2018, so we have been living in it for just over two years. It is a traditional two-story house built in the 1960’s. The owners we bought it from lived in it for over 40 years and updated it extensively in the early 1990’s (our best guess from the style), including fluorescent lighting and a swan mural in the breakfast area.
Original Listing photo
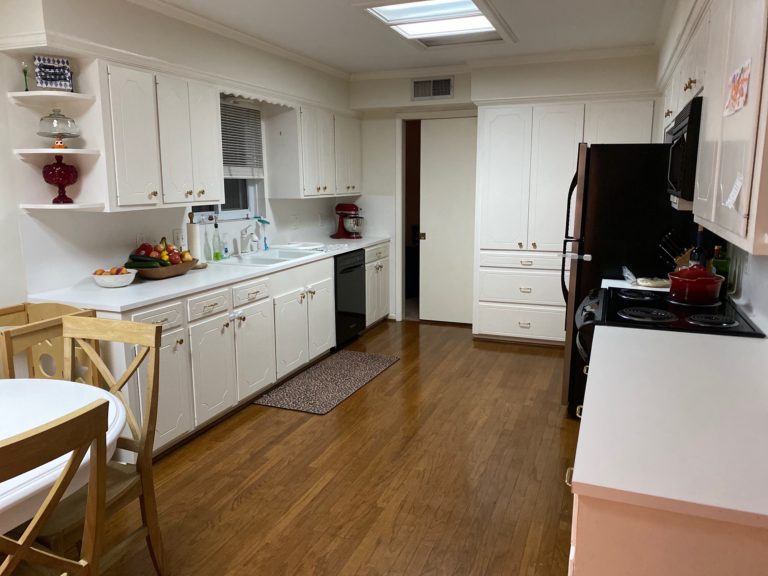
before the refresh
the Project
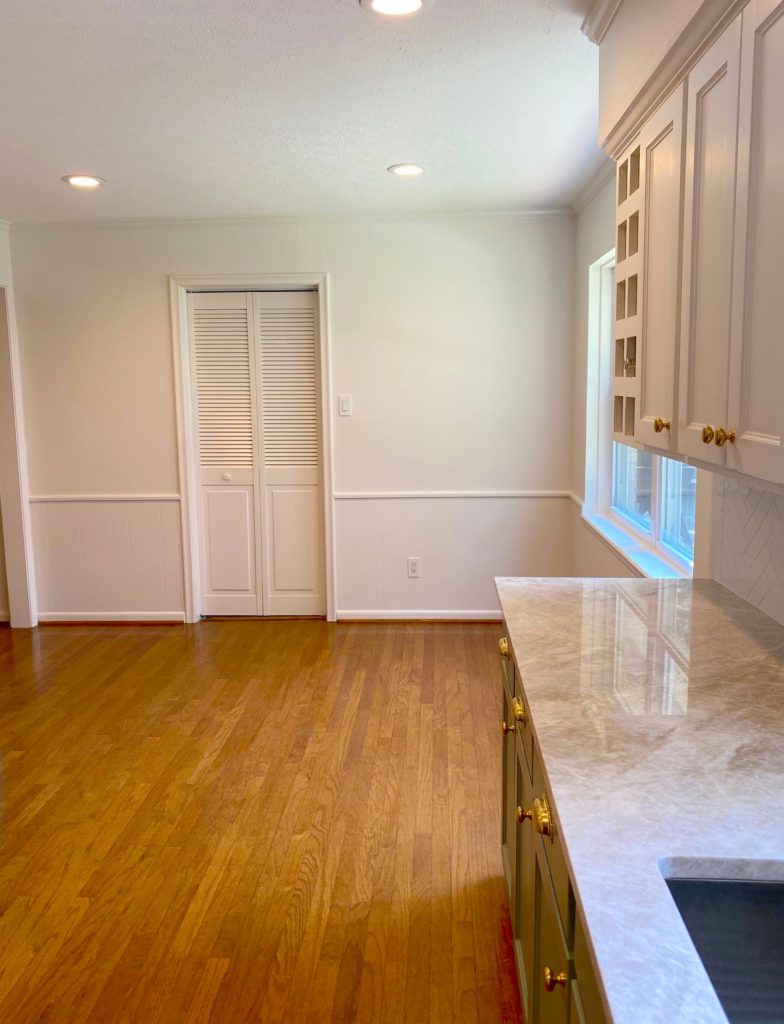
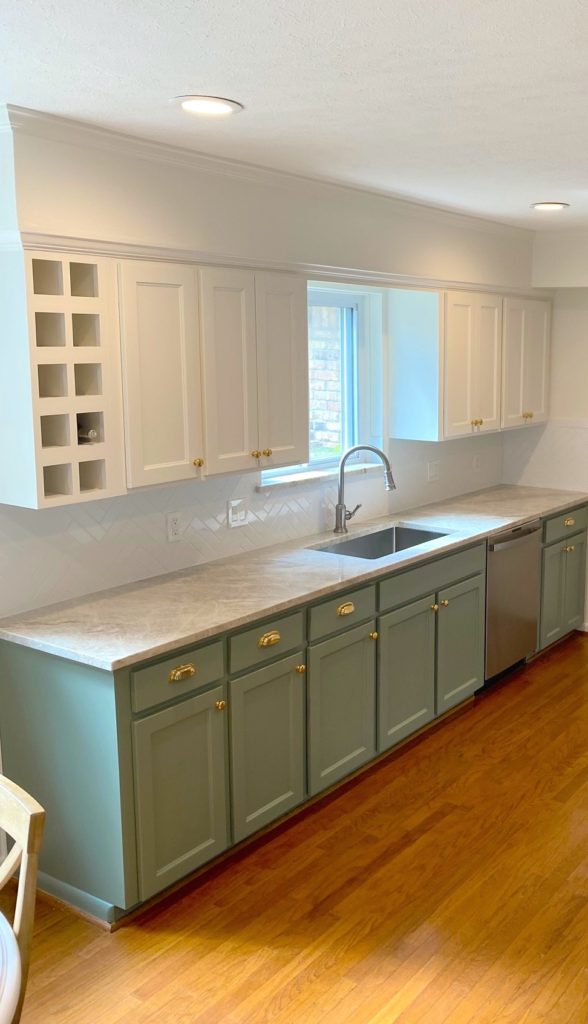
Our kitchen refresh included updates to the countertops, backsplash, sink, faucet, cabinets + drawer covers, hardware, all new appliances, and painting of the entire area. Since this refresh was unexpected, we tried to keep it as simple as possible, no moving of walls or major changes to electrical or plumbing. After going through the bidding process, we decided to run the project ourselves and subcontract out the work for all the components. This made the project take a little longer, but we were able to spend more money on the actual work in the kitchen.
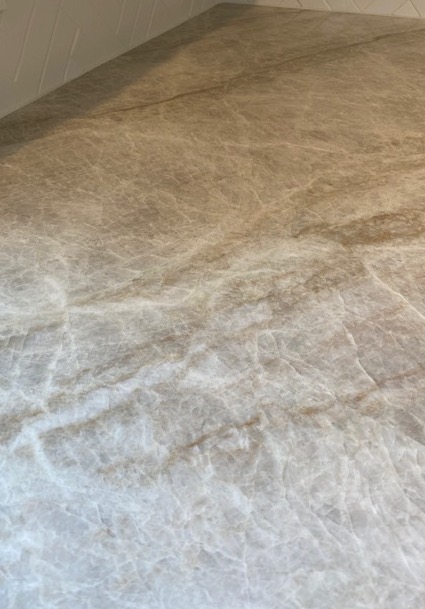
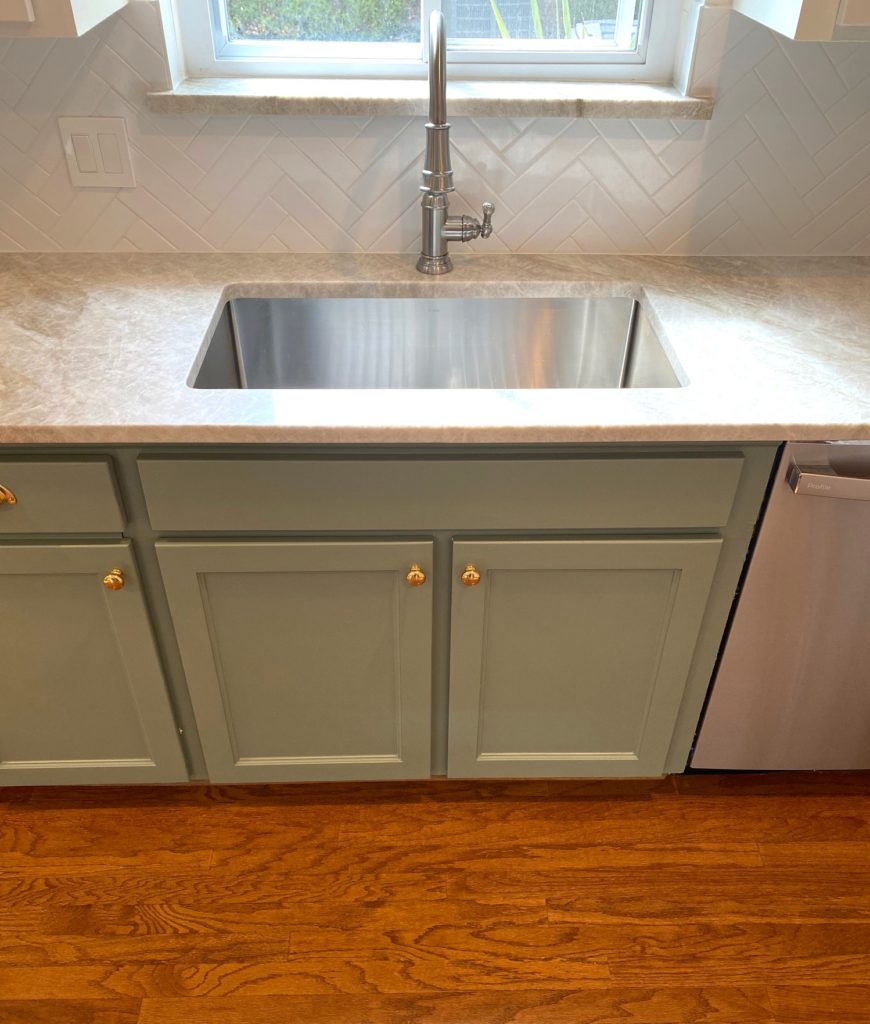
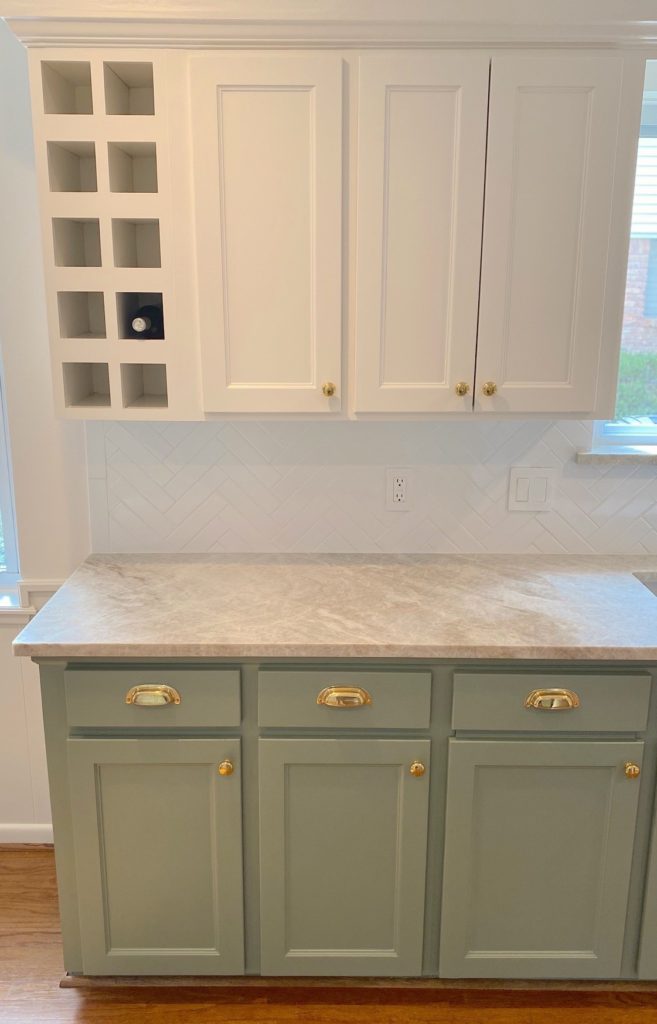
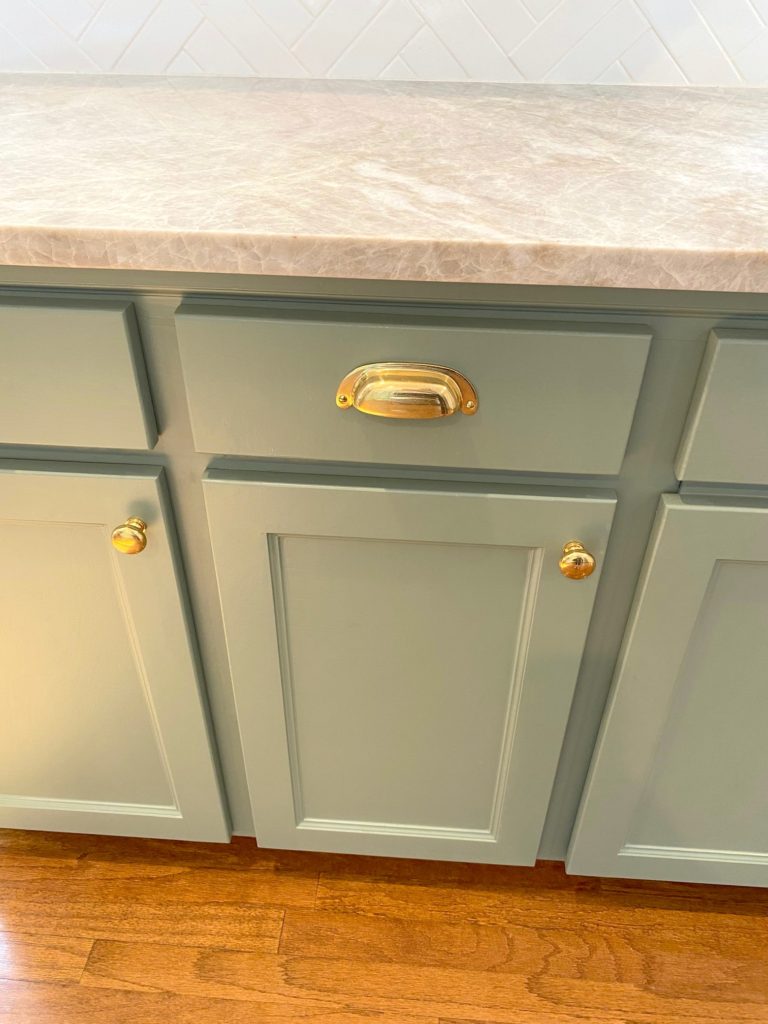
We started the project with the countertops and backsplash. I feel in love with quartzite early on in our search for countertop material and quickly narrowed it down to the Taj Mahal pattern. I probably learned more about countertop materials than any other part of this project. Finding the right quartzite slab, with our preferred finish (polished) and detailing, at the best price was a task. I am glad we visited a few too many stone suppliers to find the perfect one for us. Next, I focused on the backsplash, which was a no brainer after I saw a picture of a stunning backsplash designed by the incredibly talented Jennifer Barron Interiors. To recreate this backsplash, we purchased 2×8 white, ceramic tiles from Floor & Decor and installed them in a herringbone pattern with white grout.
With the countertop and backsplash installation, we also had to install a new sink and faucet. After using the double bowl, top mount sink and faucet that came with the house, I knew exactly what I did not want for my new sink. It was easy to decide on a single bowl, undermount sink, but the stainless steel versus white sink decision took a lot of research and debate. Ultimately, we ended up installing a stainless steel Kraus single bowl undermount sink from Wayfair, and it is easily one of my favorite parts of the kitchen. It looks great and is practical in every way possible – affordable, easy to clean, durable, and deep. We found our stainless steel faucet, the Amberly Single-Hole Pull-Down, from Signature Hardware. This faucet goes well with the sink, and was a great substitute for the beautiful (yet pricey) Kohler Artifacts faucets that were my initial faucet inspiration.
Next, we focused on lighting. Ever since we moved in the house, one of our constant points of discussion was the uncomfortable, slow to turn on, fluorescent lighting in the kitchen. Needless to say, we were glad to see these light fixtures go. We opted to install recess lighting. There was a brief time we discussed a chandelier style fixture above the breakfast area, but with our current lifestyle including wild toddlers and a table that would rarely be centered, we decided against it. We measured, once, twice, and a third time to mark a symmetrical installation of the can lights, then the electrician disconnected the fluorescent lights and installed the can lights. The removal of the fluorescent fixtures and repair of the ceiling were left for the painter. The lighting update was by far one of the top updates in the kitchen – it had a major impact.
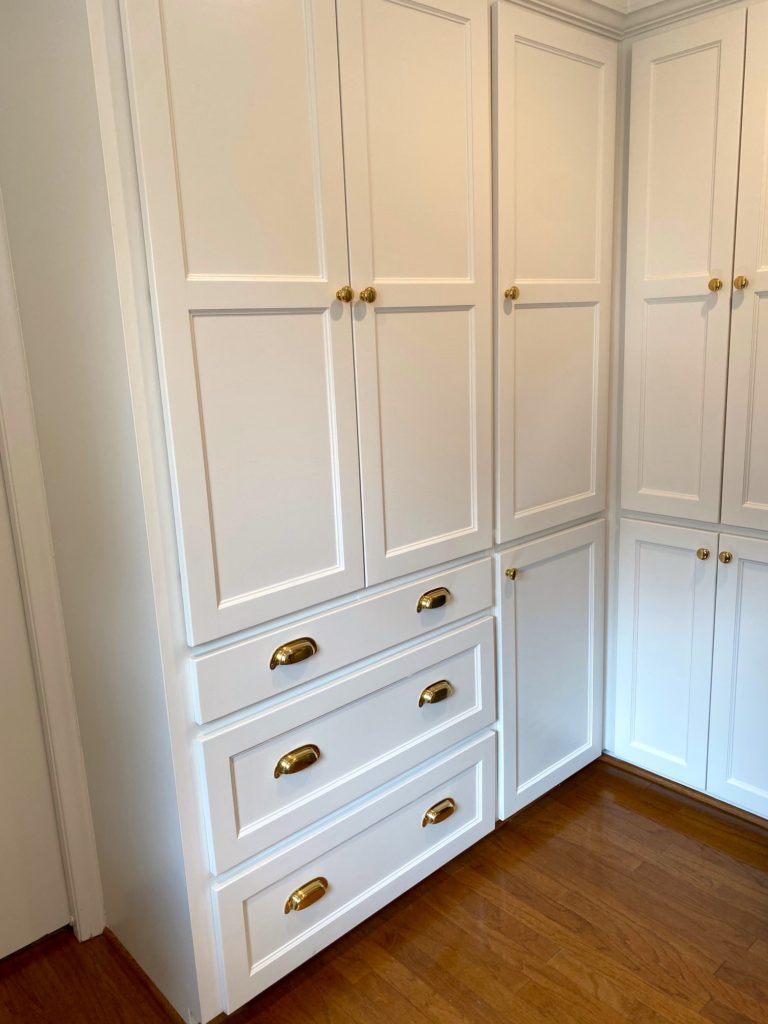
With the countertops, backsplash, sink, and lighting installed, it was immediately apparent that we had to update the cabinetry. The best option for us was to reface the cabinets and drawers. Insert wonderful blessing in disguise – when our new, non-returnable oven arrived, it did not fit into the precut space by less than half an inch (cue all the tears and frustration – now laughs), so we had to find someone to evenly trim down the cabinets to help it fit. The person we found, Antonio with A.H. Custom Woodwork, to help our oven situation provided us with a quote for refacing our cabinetry too. We were ecstatic his quote was within our budget. We selected simply trimmed cabinet doors and no trim on the drawers. We also added a wine rack (replacing some open shelves), modernized the other open shelves, and installed a pull-out trash can drawer by the sink. The pull-out trash can is another one of my favorite practical features, even though I had to sacrifice a drawer and cabinet, because we no longer have our kitchen trash can in our laundry room (yay!).
The last items we completed were paint and hardware. These items were the most overwhelming decisions for me because I felt like they would make or break the project and the options are limitless. After multiple failed paint store trips and hours of hardware shopping, I knew I needed help finalizing our project. Thankfully, I was able to get a little extra inspiration from Jennifer Barron Interiors, which led to the fabulous paint combination and perfect hardware addition. All of the paint for the kitchen is from Sherwin Williams. For the walls, trim, and upper cabinets we used Alabaster and for the lower cabinets we had Sherwin Williams match the popular Farrow and Ball color – Card Room Green. The hardware is from Rejuvenation. The drawer pulls are the Massey Bin Pulls (4in) in unlacquered brass and the cabinet knobs are the Massey Round Cabinet Knob in unlacquered brass. I am in love with the hardware and paint combination, it is the perfect pop of color.
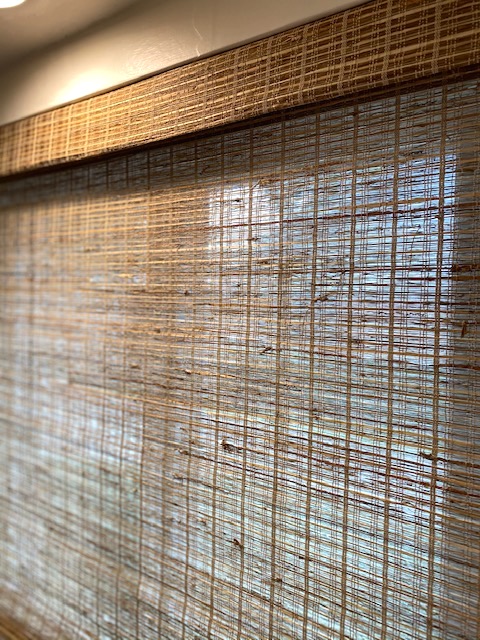
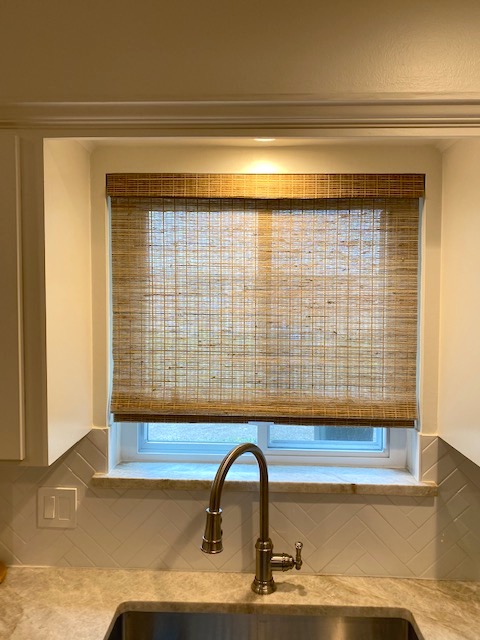
As our refresh began to wrap up, we decided to add window treatments. Most of the windows in our house have plantation shutters, but those were not a good option for our kitchen. After some research, we landed on woven wood shades. The style of these shades complements the new style of the kitchen, and the shades provide privacy without removing too much of the natural light. We briefly considered using the self measure and order websites for the shades, but after feeling a lot of uncertainty of our measuring skills and inability to see the textures and colors in person, we followed a friend’s referral to Shutter-Up Blinds & Shutters. We really enjoyed working with Mary Beth, the owner. She provided helpful advice and made ordering the shades an easy process. The shades we installed are the HunterDouglas Sonoma Chardonnay color, cordless style with a modern valance, and do not have a liner. They have been great – they are easy to operate and add the coziest finishing touch to our kitchen.
What's Next
The last step that will truly complete the kitchen is decorating, which will come with time, while we figure out what we need in the space.I am beyond thankful to have had the opportunity to refresh our kitchen – it is a privilege to cook in a space that makes my heart happy. I cannot wait to host in it, so come on over!